Archive

Archive for the ‘Recipes’ Category

BLT+A-L With Well-Spread M: A Just Right Sandwich Formula.

January 17th, 2012 No comments

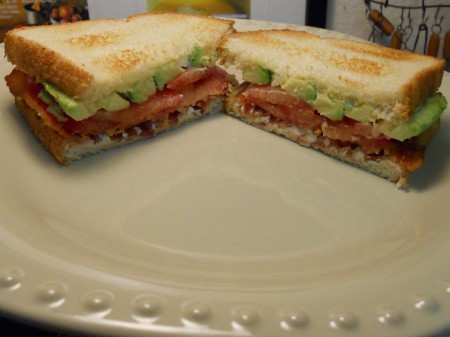
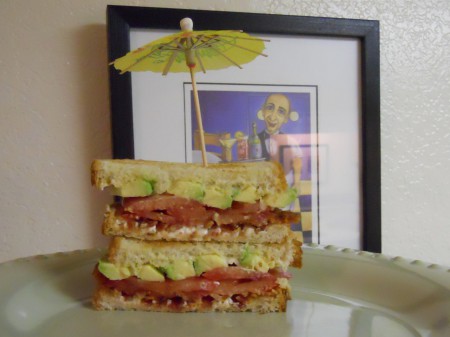
BLT+A-L on Toasted White Bread with the perfect amount of Mayo — It’s how my Mom always made it and how I do now.  It’s just right.  We rarely add the Lettuce and mostly opt for Avocado with the Bacon and Tomato.  It’s technically a BAT or BTA, a tasty Sandwich.

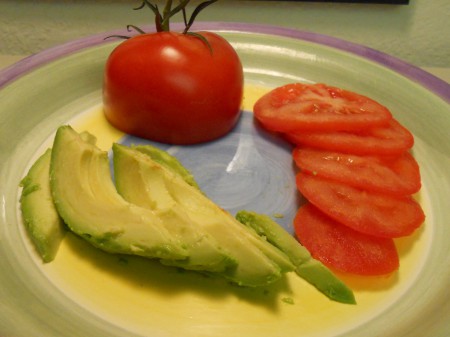
Bacon, Tomato and Avocado — Layer in that order on Toasted White Bread with Mayo.

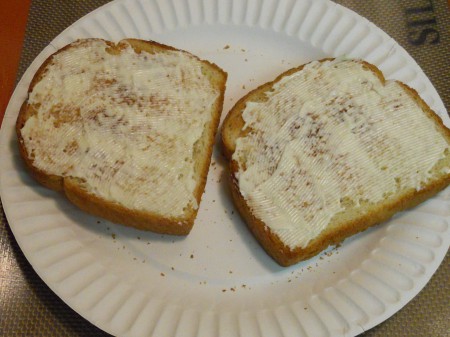
The amount of Mayo is key, not too much, nor too little — Mayo oozing out the sides is gross and not enough is dry.  I didn’t want any Mayonnaise on it as a kid and my Mom would add it when I wasn’t looking.  She knew, and I now know its compliment, when properly applied.

It’s a simple, flavorful Sandwich that consistently hits the spot with a cold glass of Milk.

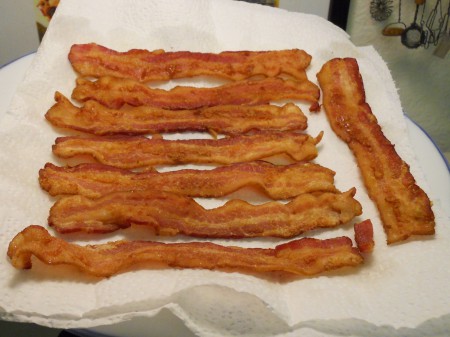
A comfort food for years — With leftover or microwavable Bacon, it can be made in a flash.

Umbrella optional, unless it’s raining.

Nibbles Of Tidbits Most Popular Recipes In Photographs.

January 5th, 2012 No comments

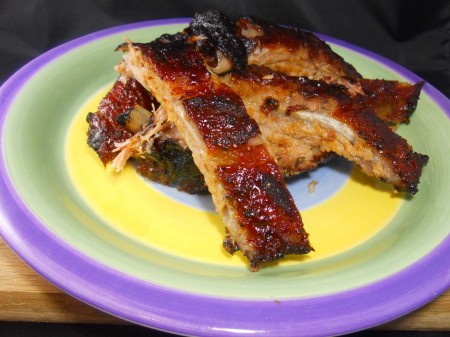
A few of our most popular recipes were recently noted in this post — Here they’re linked and featured in photographs starting with the Quick Tender Oven Baked Baby Back Ribs.

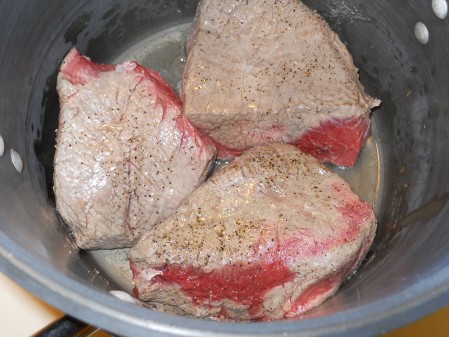
Have you tried Chipotle’s Barbacoa Beef?  I love it and created a copycat recipe.  It may be the most viewed post on Nibbles of Tidbits — It’s a darn good recipe too.  If you know the flavors, you’ll see.  Our preparation starts by searing the Beef, then on to slow cooking to easily shred.

Though the above photo doessn’t look that appetizing, it’s tasty as all get out topped with Goat Cheese.  It’s another copycat recipe that works — Houston’s Braised Red Cabbage.

Have you ever gone through the hassle of preparing Amish Friendhship BreadWhen I did, I thought it was quite burdensome, but after tasting the finished product, I’d do it over and over again.  It’s one of the best Breads I’ve had — Complex, flavorful, moist and magical.

Spotlight On The Most Searched Recipes: Spinach Artichoke Dip.

January 4th, 2012 No comments

One of the most searched recipes on Nibbles of Tidbits is a copycat of Houston’s Chicago-Style Spinach Dip — To me (and confirmed by others), it captures the flavor and texture of Houston’s tasty Dip.  It’s a respectable recipe (linked above) that holds up well to this simplified variation.

The pictured Spinach Artichoke Dip was prepared using the same recipe, without the Heavy Cream and alternatively increasing the Sour Cream from 1/2 to 3/4 Cup — This may be the better recipe (below), if too much Water is in the Spinach.  Mix and bake pictured ingredients.

Bake in one to four dishes for an appetizer or individual side, depending on the crowd.

Spinach Artichoke Dip Recipe (a variation of this copycat)

Mix all ingredients together well, then transfer mixture to an oven proof dish and bake at 350° for 30 – 35 minutes.  Let cool slightly and serve with Tortilla Chips, Bread or Vegetables.

1 (16 oz.) Bag of Frozen Chopped Spinach, thawed and squeezed, drained of water

1 (12 oz.) Jar of Marinated Artichoke Hearts, drained and chopped (Unmarinated is fine)

1 Large Garlic Clove, minced or pressed

1 Cup of Mozzarella Cheese, grated (Jack Cheese may be substituted)

2/3 Cup of Parmesan Cheese, grated or shaved

3/4 Cup Sour Cream

One dish to freeze for another time is good too.

Note:  The spotlight should also be cast on the following for being amongst the Top Five Most Searched Recipes in 2011:  Houston’s Braised Red Cabbage with Goat Cheese, Chipotle Barbacoa Beef, Amish Friendship Bread and Oven Baked Ribs.  Enjoy — Happy 2012!

Chilled Tomato And Cucumber Gazpacho, Not Mexican Shrimp Cocktail.

December 27th, 2011 1 comment

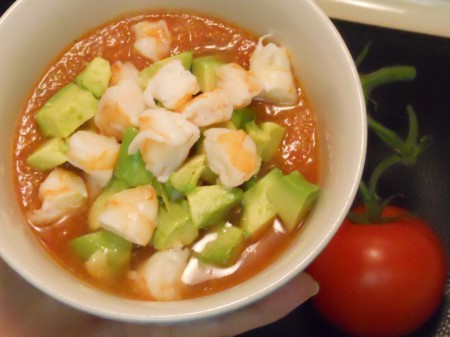
The posted RECIPE is an Award WINNER and officially named Chilled Tomato and Cucumber Gazpacho.  It’s not a Mexican Shrimp Cocktail silly — Duly advised, but it reminds me of one.  Either way, it may be the best I’ve had.  It’s fresh tasting, flavorful and super easy to make.

Chilled Tomato and Cucumber Gazpacho

3 ripe Tomatoes, cored and cut into large cubes [I seeded them]

1 Cucumber, peeled, seeded and cut into large cubes [I didn’t seed it; used an English Cucumber]

1/2 Green, Yellow or Orange Pepper (or tricolor combo), diced [I used half a Green, half an Orange]

1/2 Shallot, or 1 Tablespoon Red Onion, diced [Shallot]

1/2 cup Scallions, chopped

Juice of 1 Lime

1 T. Extra Virgin Olive Oil

1 T. Worcestershire Sauce

1/2 t. Tabasco [or other hot pepper sauce, like Red Rooster, which I now like better–use 1 T.]

1/2 cup V-8 Juice [buy one small bottle at a liquor store; grocery stores only sell it by the case!]

Lemon Pepper to taste

Seasoned Salt to taste

Instructions

Combine all Soup ingredients in blender until well blended (ingredients will retain some pulp, which is great).  Pour into chilled bowls and garnish as desired.  Makes 1/2 gallon–6 appetizer servings or 3 main dish servings.  Tastes better if you make it the night before.

Garnish (with one or more)

1/2 lb. chilled, cooked Shrimp [buy the fresh $10 Shrimp tray from Costco; scarf the leftovers with the Cocktail Sauce]

1 chilled, sliced Avocado

1 T. fresh Cilantro, chopped

Follow and vary the RECIPE to your taste — Above [brackets] indicate specifics by Arlene T., 2011 Best Appetizer Winner.  She agreed to share all on Nibbles of Tidbits and we thank her.

I recently made the same for a Holiday Party and everyone loved it well chilled in a cup.

Chicken Is Always Better Pounded If The Timing Is Right.

November 30th, 2011 No comments

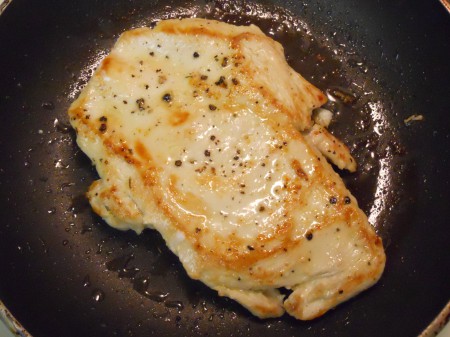
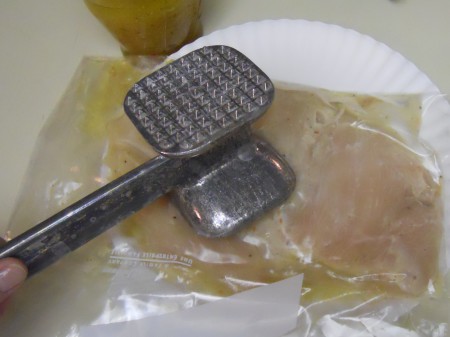
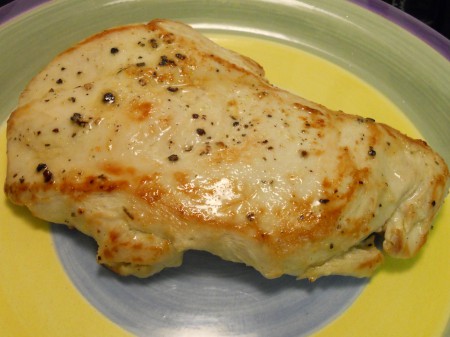
Does the Chicken Breast above look like Opie or the guy on Mad Magazine or a Sock Monkey, or is it just me?  This is the Chicken Rorschach Test, a psychological test you can eat. 

Kitchen Exercise: Pounding Chicken — It’s all the rage for even (and faster) cooking.

I’m learning it’s best not to over-attend to certain things.  Simple is truly best.

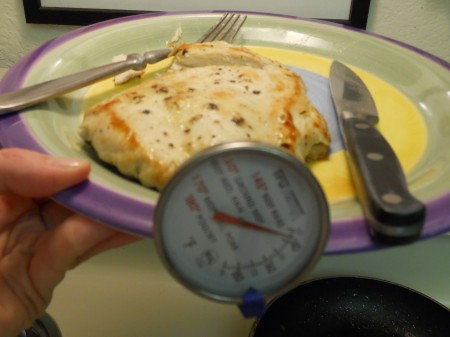
The Chicken was flipped once after turning golden brown — I cannot put forth the process better than A Sweet and Savory Life, who helped me really get the best stove-top method.

Anna And Frankie’s Meatballs On A Monday: Baked Not Fried.

November 14th, 2011 No comments

The Best Meatballs in the World are Anna and Frankie’s Meatballs at Rao’s — I have Rao’s Cookbook and make ’em all the time.  No other Italian Meatball recipe will be necessary.  Rao’s all the way!  Also, instead of frying Meatballs, I always bake them, which is easier and they still turn out fantastic.  Pictured is Moroccan Kefta prepared for a food competition last year.

Shannon’s Bayshore: Dive Bar Still Going Strong And Longer.

October 15th, 2011 No comments

Oh Belmont Shore I have a special place for thee — Hadn’t been back for some time.  Memory lane happened today with a stop at Shannon’s Bayshore for a Shoot the Root and game of pool.  A lot has changed and much remains the same on Second Street.  A good change for Bayshore is its longer bar that now stretches most the length of its narrow space. 

Shoot the Root — A Shot of Root Beer Schnapps dropped into a glass of Beer.

What Happens When You Eat Grilled Asparagus?

September 11th, 2011 No comments

What happens when you eat Grilled Asparagus?  The same thing that happens when you eat any Asparagus.  The answer is here.  Grilled Asparagus is so simple yet dang good!  The pictured were tossed with Italian Dressing and grilled about 5 minutes — Toss and turn ’em until nicely charred, then plate and eat.  Or how about Bacon Wrapped Asparagus?

Unknown Blondies N/K/A Award Winning Blondies: The Recipe.

July 19th, 2011 1 comment

Would you believe I just learned what a Blondie is?  It’s like a Brownie without Chocolate.  Did you know that?  Since I’m one of the few people in the world who doesn’t care for Brownies, this year I chose to make Blondies for the Culinary Arts Competition at the Orange County Fair.  Having never made (or ate) one before submission time, I practiced by varying three different recipes to ultimately create the award winning Blondies pictured here.  And it’s a good thing I did, since the first few batches didn’t turn out well at all — Then at last I was happy with the ingredient combination, taste and texture.  Following is the final BLONDIES RECIPE.  It’s a winner, literally.

1 Cup of Flour

1 Teaspoon of Baking Powder

1/2 Cup of Butter (1 Stick)

1/2 Cup of firmly packed Light Brown Sugar

1/2 Cup of firmly packed Dark Brown Sugar

1 Large Egg

1 Teaspoon of Vanilla Extract

1/2 Cup of chopped Pecans

1/4 Cup of Milk Chocolate Chunks (Chocolate Bar rustically cut)

Preheat oven to 350°.  Combine the Flour and Baking Powder in a small bowl.  In a separate bowl, melt Butter and stir in the Light and Dark Brown Sugar until well blended, then whisk in the Egg and Vanilla.  Add the Flour mixture until all is incorporated, then stir in the Pecans and Milk Chocolate Chunks.  Pour batter into a 8 X 8 baking dish and bake until the Blondies are set in the center, about 25 – 30 minutes. Let cool, cut and dig in.

How To Make Lychee Ice Cream: Recipe For Your Ice Cream Maker.

July 11th, 2011 No comments

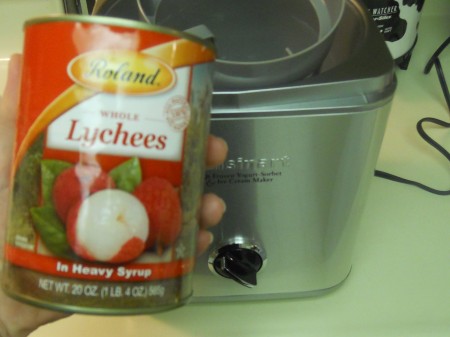
Rock Salt and Ice are no longer needed to make homemade Ice Cream.  I’ve been wanting a new Ice Cream Maker for years, but really didn’t need one since my old fashioned one is still trucking along.  That’s great, but the pictured Ice Cream Maker was on sale for a price I couldn’t pass up.  I feel a little guilty about it, since it’s nicer than the one I bought my Nieces last year for Christmas, though roughly the same price.  Hopefully they skip this post. 😉

Homemade Lychee Ice Cream — I found a simple recipe online that was varied slightly to make the pictured Lychee Ice Cream.  It can (and should) be made in any Ice Cream Maker, because it’s fabulous and couldn’t be easier.  I lightened the recipe with Milk and less Cream.

Ingredients:  (1) 20 ounce Can of Lychees, 1 3/4 Cups of Whole Milk, 1/4 Cup of Heavy Cream, 1/4 Cup of Sugar and the Juice and Zest of (1) Lime — All with an Ice Cream Maker.

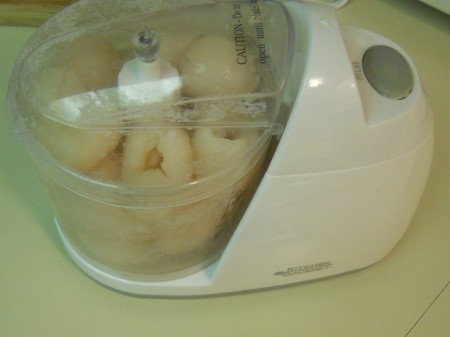
Directions:  Reserve the Lychee Syrup and puree the Lychee Fruit, then combine both with the remaining ingredients listed above.  Place ALL in an Ice Cream Maker and churn for 30 minutes.  That’s how long it took in this Cuisinart.  Pictured is the first batch made in it — A success.  The consistency and flavor couldn’t have been better.  The photos don’t do it justice.

Artichokes With Walt’s Wharf Lea & Perrins Sauce At Home.

June 2nd, 2011 2 comments

Have you ever tried an Oak Grilled Artichoke at Walt’s Wharf in Seal Beach?  They serve one of the best Artichokes around.  The flavor of the grill combined with Walt’s Wharf Lea & Perrins Sauce is superb.  Since I don’t live as close as I used to, I make it at home.

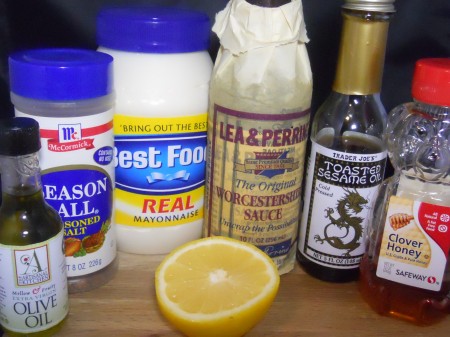
Ingredients for Walt’s Wharf Lea & Perrins Sauce — Mayonnaise, Lea & Perrins Worcestershire Sauce, Lemon, Sesame Oil, Olive Oil, Seasoning Salt and Honey.  Recipe is below.

Walt’s Wharf Restaurant first steams their Artichokes and then grills them over Oak Wood for extra flavor.  For ease, most of the time I just steam them, but do grill ’em on occasion too. 

I’ve had the recipe for about 20 years, as you can tell by its stained condition.

The Walt’s Wharf Lea & Perrins Sauce recipe is kept in one of four recipe binders created before Nibbles of Tidbits and a variation is linked here.  And semi-related, just because it’s in the same binder, is a photo from a recipe contest I won several years ago.  Lucky me.

On the subject of Artichokes, Lucille’s Smokehouse Bar-B-Que serves an amazing one too.

Note:  A link will be provided to Walt’s Wharf Restaurant when it’s operable again — They say it was recently hacked and are working on it now.  Check back.

06/03/11 Update:  The Walt’s Wharf website is still bogus, but a few of us are heading there (Walt’s and Seal Beach) this Saturday for the real deal and more.  We’ll see what’s goin’ down and update again.

How To Cook A Roast Fork Tender Every Time: Long, Low & Slow Baby.

May 22nd, 2011 No comments

Long, low and slow baby was my answer to a friend who asked how to make a Beef Roast turn out fork tender cooking it in the oven.  She wanted a recipe, but I didn’t have one.  I just know the framework.  I experiment too much, a big reason for Nibbles of Tidbits… to document successes and failures, to remake successful dishes and learn from the misses.  And luckily most Beef Roasts in my past have turned out tender, but you need to have the time (and patience) — It can easily be achieved in a Crock-Pot in 8 – 12 hours, or in the oven with a little more maintenance in 3 – 4 hours, depending on Beef size.  The provided recipe uses the oven.
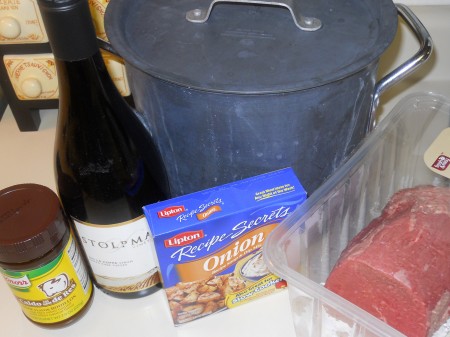
It’s not an original recipe, but one made by my Mom throughout my childhood — It’s not uniquely her recipe either and perhaps you’ve seen or made it before, HOWEVER it can be relied on to yield a consistently fork tender and tasty Beef Roast every time.  It’s easy too.
I made it a lot when I first moved out, though still had to call Mom to verify its simple ingredients (Beef, Beef Broth, Wine, Lipton Onion Recipe Soup & Dip Mix, Oil and S & P), as detailed in step-by-step photos and instructions.  Both Red and White Wine work well.
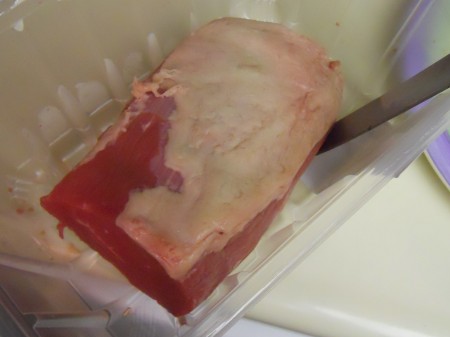
Trim the fat — You know, the area hidden at the grocery store, inevitably on the bottom.
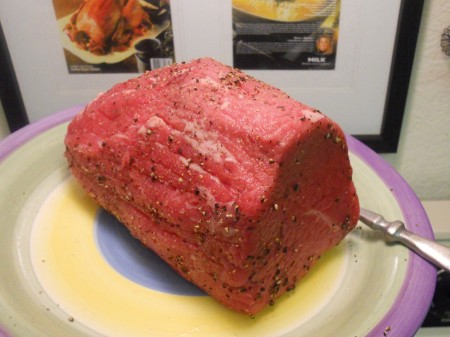
Over the years, I’ve found almost any cut of Beef works with this recipe.  I usually buy what looks good, what’s priced well and what expires last.  The one used here is 2 1/2 lbs.
RECIPE:  1 Beef cut (2+ lb. Top or Bottom Round, Eye, Chuck, Sirloin, Tri-tip, etc.), 2 Cups Beef Broth/Stock, 2 Cups Wine, 1 Packet of Lipton Onion Recipe Soup & Dip Mix, Oil and Salt & Pepper.  Combine all as shown and noted below to make a perfectly tender Beef Roast.
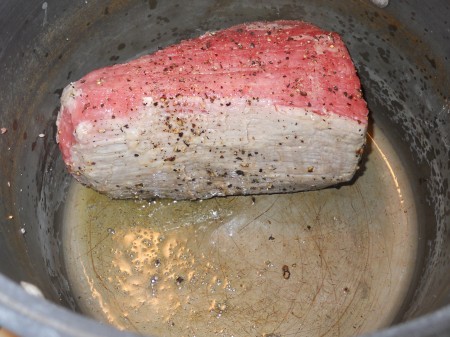
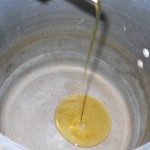
Preheat oven to 325° — S & P Beef and sear on all sides in a little Oil.
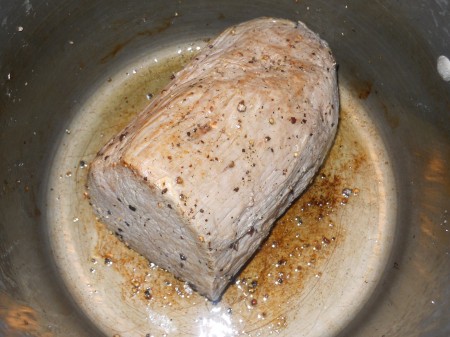
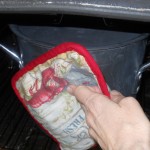
Turn off burner and add Lipton Onion Recipe Soup & Dip Mix to the pot.
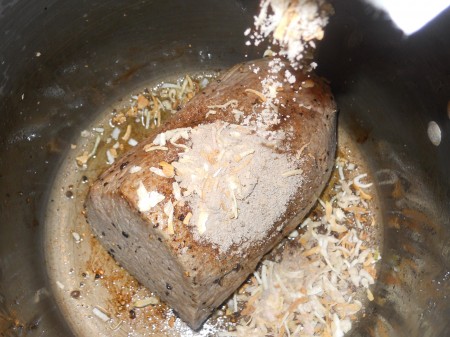
Add the Beef Stock/Broth.
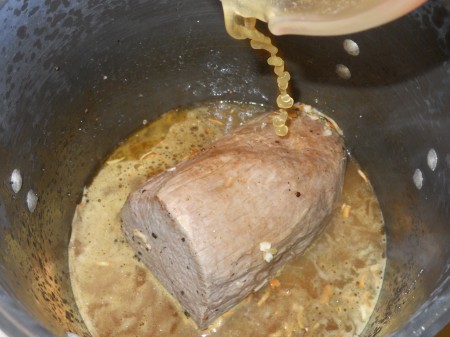
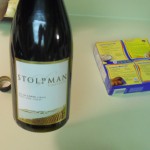
Add the Red or White Wine — Note that Red Wine will darken the Beef a bit, which is sometimes a good reason to use White Wine.  It could make final presentation prettier.
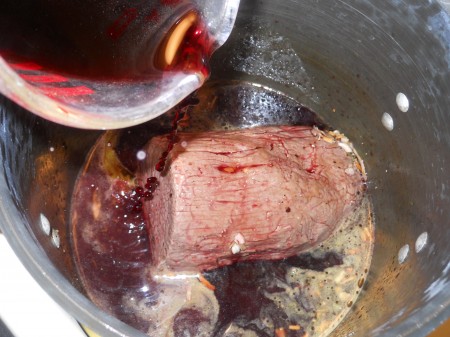
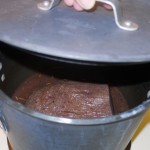
All is combined and ready for a 3 – 4 hour oven tour — At this point, I need to point out a major faux pas… The pot I used to make the pictured Roast is way too large/tall, which allows excess air around the Beef, thus drying it out.  It was still flavorful and flaky, but drier than preferred.  For best results, prepare the Beef Roast in your smallest Dutch oven.
Cover and bake in the oven.
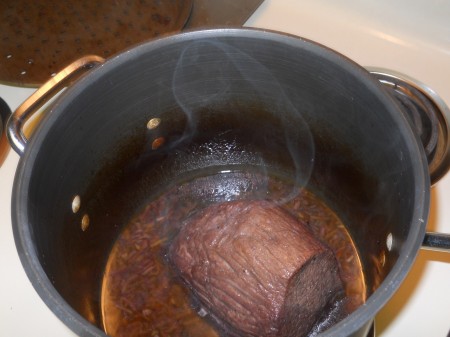
Turn Beef every 45 minutes or so.
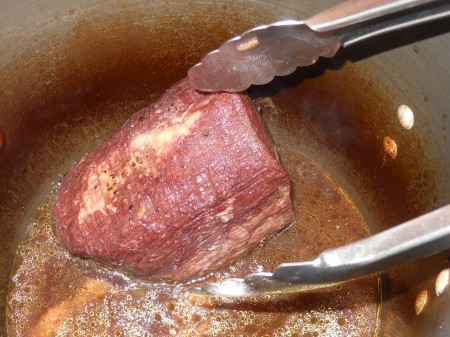
Turn again.
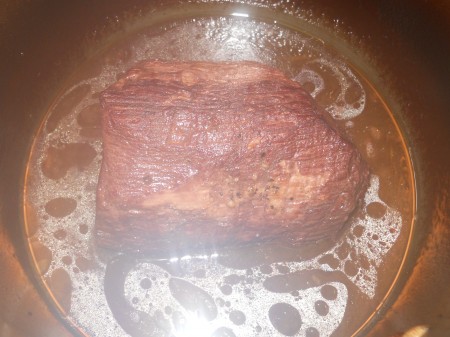
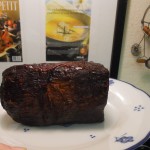
After 3 1/2 hours, remove Roast from pot, wrap in foil and let rest for at least 15 minutes.
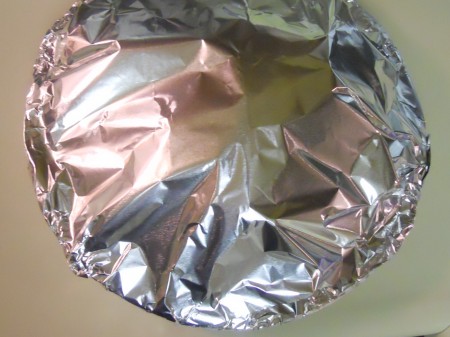
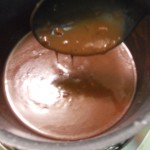
Make a quick Gravy by boiling the remaining liquid with a little Flour and Water.

RECIPE Alternate:  Mom prepares her Roast in a smaller pot, as recommended, and simply combines (1) Can of Beef Broth, (1) Can of Wine (using the Broth can) and Lipton Onion Recipe Soup & Dip Mix — Cooked at 325° for 3 – 4 hours depending on Beef size.  Need more info?
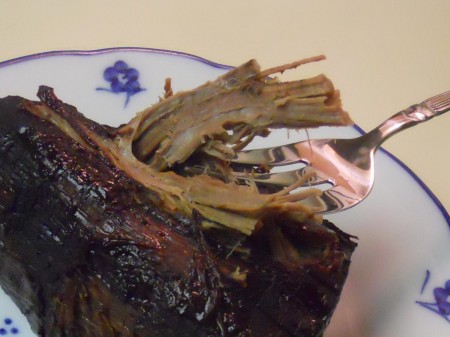
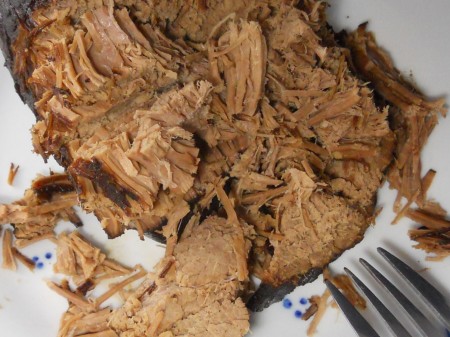
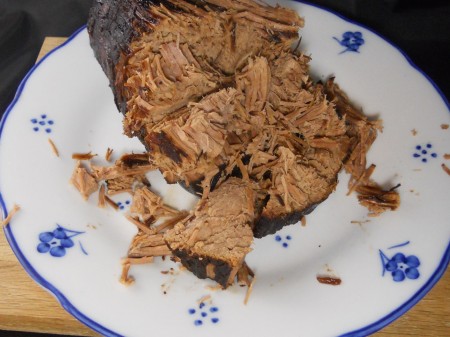
It pulls apart easily, ideal for Sandwiches, Tacos, Burritos and more.
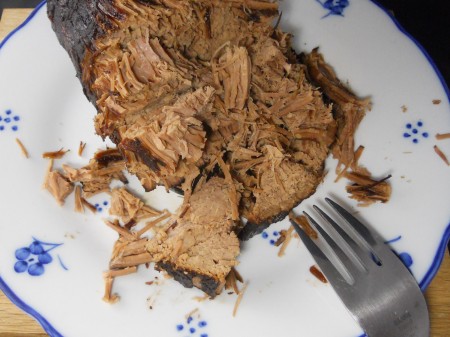
Or just shred and top with favorite Gravy — It’s how I like it best.
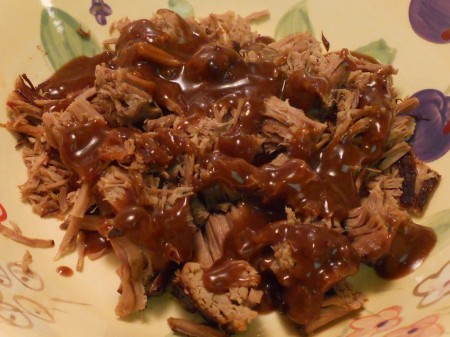
This post was prepared in response to a friend’s question and for submission in the Orange County Fair’s Culinary Arts Food Blog Post Competition.  And the next Beef Roast will be tender (a happy given) and less dry with a smaller pot to fix it — An educational reminder that sometimes size does matter.  And now it’s documented to further success.

Bonus:  Another Beef Roast recipe, a Chipotle Baracoa Beef copycat I developed is linked.  It’s pretty darn good, if I do say so myself, and others think so too.  Always good, bad and funny.

Southern Living’s Big Book Of Cupcakes: Monkey Bread Jumbo Cupcakes.

April 25th, 2011 No comments

I appreciate the opportunity to test out Southern Living’s Big Book of Cupcakes.  It became available April 12th and timely arrived, as I had just begrudgingly returned Martha Stewart’s Cupcakes cookbook that was loaned through Bookswim.  And I’m still not done with Cupcakes.

The Big Book of Cupcakes bakes up 150 recipes and provides tips to satisfy any sweet tooth.  It’s reported that its author, Jan Moon transforms basic Cupcakes into brilliantly creative Dreamcakes with the whip of a whisk, although no whisk was needed for the pictured.

I have several pages tabbed, but started with the Monkey Bread Jumbo Cupcakes.

I first chose the Monkey Bread Jumbo Cupcakes, due to ease and the love of Monkey Bread.

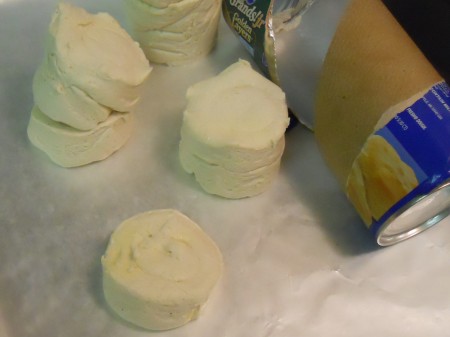
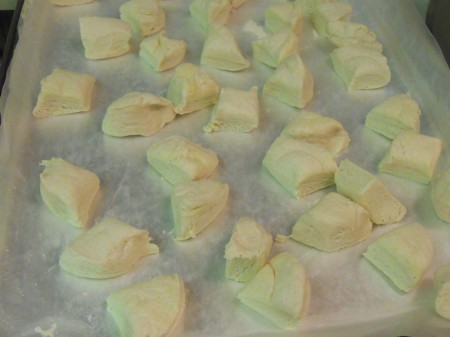
No batter is prepared, since they’re made with Biscuits cut into fourths.

The recipe says to spray the Cupcake liners with a non-stick spray — I’m not sure if it’s necessary, but did it anyway.  If I didn’t, would they stick to the paper?  I’m not sure.
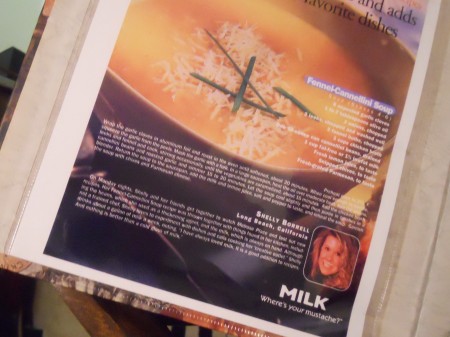
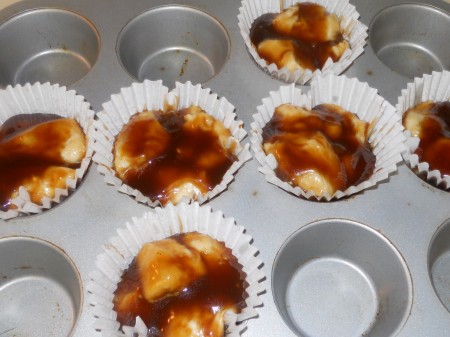
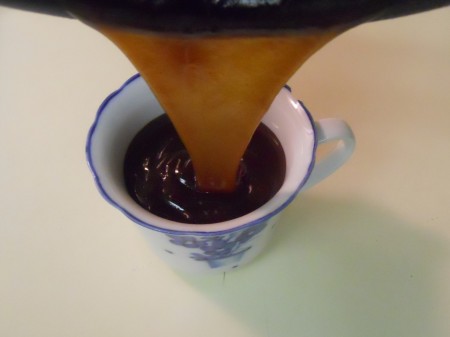
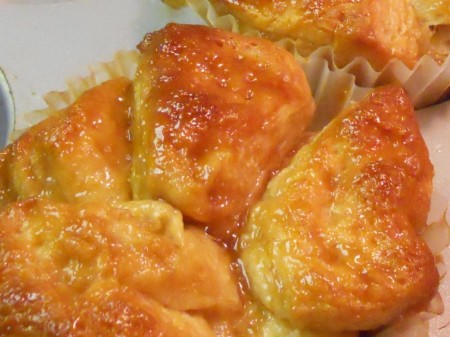
The Caramel Sauce aka Syrup mixture is made with Orange Juice, Brown Sugar, Butter and Cinnamon that thickens after boiling — The Biscuit quarters are then coated with the Syrup.

And then placed into Cupcake liners, as shown.

Instead of making 24 Monkey Bread Jumbo Cupcakes with (3) cans of Biscuits, I tested the recipe using (1) can, which produced 6 Cupcakes and leftover Syrup for another batch or two.  Since unsure of its yield, I sprayed more Cupcake liners than necessary.
I saved the Syrup for the next Biscuit purchase — I’ll update this, if something new is learned.
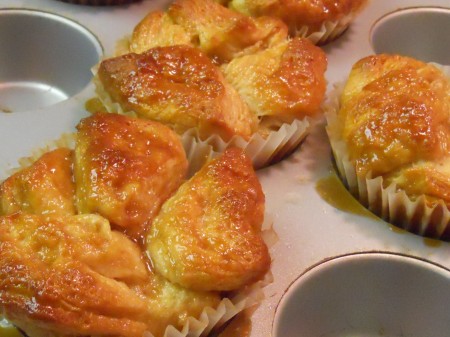
After assembly, they’re baked in the oven for 20 minutes at 350°.

And they’re more beautiful in person than in the book — My co-workers fought over them.

They were easy to make, but a little messy when dunking the Biscuits into the thickened Syrup.  The recipe says to shape the Biscuits into balls, but I found that step unnecessary, since the shapes change when dipping ’em into the Syrup.

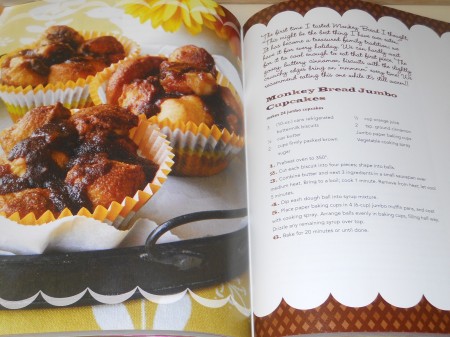
Like all Southern Living cookbooks I’ve tried thus far, the Big Book of Cupcakes is a winner.  If you want to make these Cupcakes, the recipe is pictured above, or I recommend buying the cookbook for it and other delicious looking recipes.  Thanks for the review copy!

Perfecto Racko Of Lamb: This Recipe Goes In The Public Vault.

April 21st, 2011 No comments

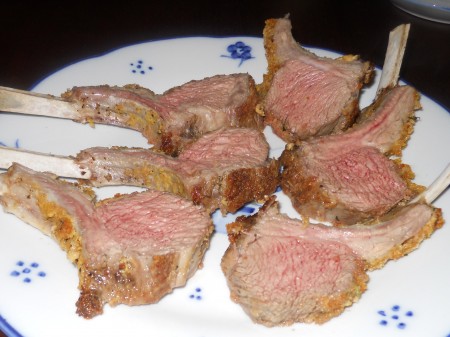
Before cooking this Rack of Lambo, I watched a couple short videos and read a few blogs.  Since Lamb isn’t cheap, I wanted to cook it right.  Although I didn’t trim ’em that skillfully, they could not have tasted better.  I’m now saving this recipe for a special occasion. 

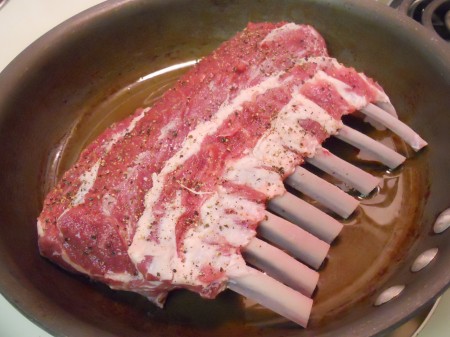
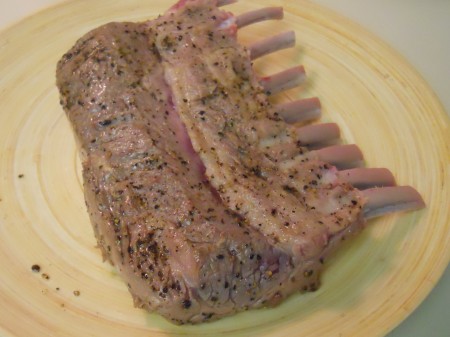
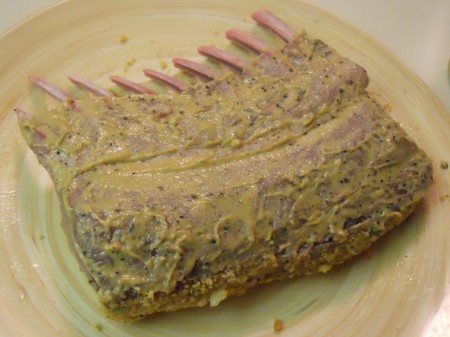
A perfect Rack of Lamb step-by-step (loosely) in photos — S & P and sear the meat for a minute on each side.  Next time I’ll get the pan hotter.  Remove Rack from pan and set aside.  Prepare an Herb Bread Crumb mixture to crust the Lamb.  Preheat oven 375°.

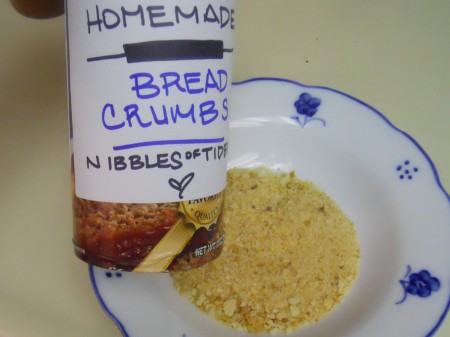
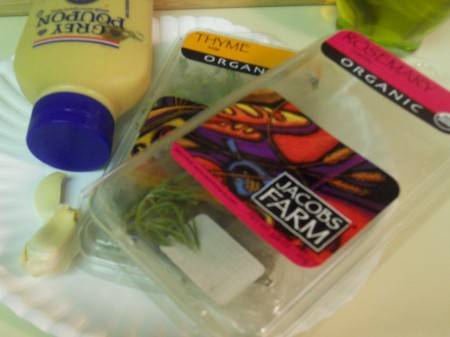
The ingredients… Dijon Mustard, Bread Crumbs, fresh Garlic, Thyme and Rosemary and Olive Oil.  I just so happened to have Homemade Bread Crumbs on hand (as presented), in a makeshift package comically fashioned for a competition a few months ago.

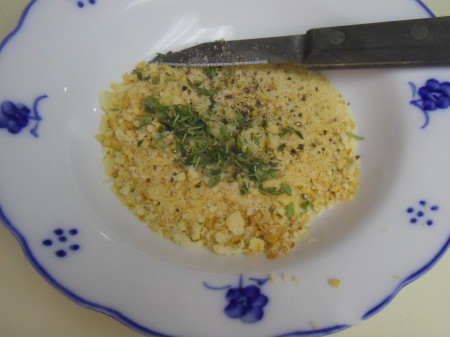
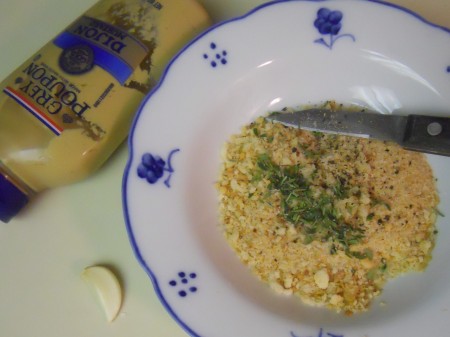
Combine the Bread Crumbs with chopped Garlic, Rosemary, Thyme, S & P and a little Olive Oil.

Mix.

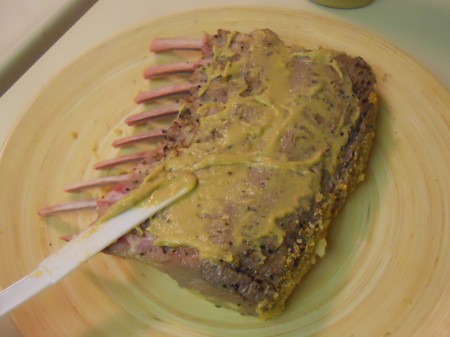
Paint a layer of Dijon Mustard on the seared Rack of Lamb.

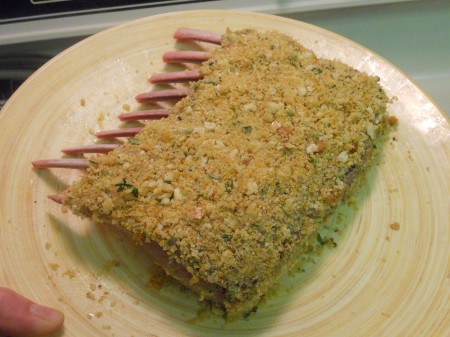
Then press on the Herb Bread Crumb Crust.

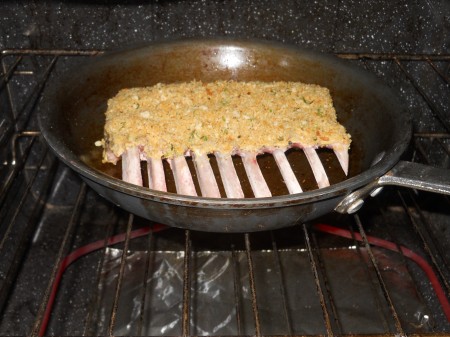
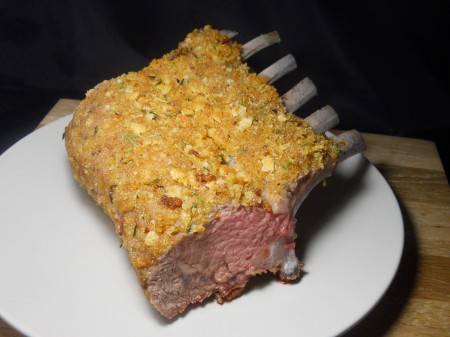
It’s then ready to be baked in the oven for 20 minutes at 375° — It sounded a bit long and high to me, but worked perfectly, if you prefer Lamb medium rare, as pictured.

Into the oven.

Out of the oven.

Cut Rack into Chops, then onto the plate, after resting 5 – 10 minutes.

This Rack of Lamb was made in attempt to finally have a satisfying amount of Lamb Chops in one sitting.  It’s never happened before, since they’re usually shared as an appetizer and dinner plates generally max out at 5 – 6.  I thought this would be enough to satify the challenge, but it surprisingly wasn’t.  This Mary could’ve had 2 – 3 more little Lambs, sorry.  And it’s good to know that I can easily make more.

Oh Oh O’ReeO: Martha Stewart’s Cookies And Cream Cheesecakes.

April 13th, 2011 No comments

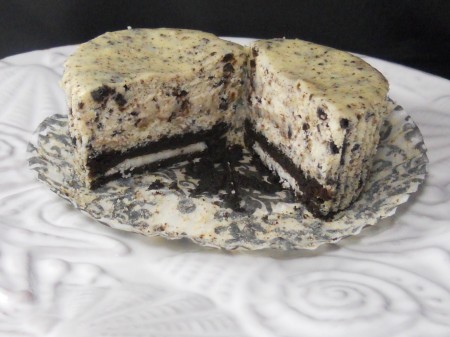
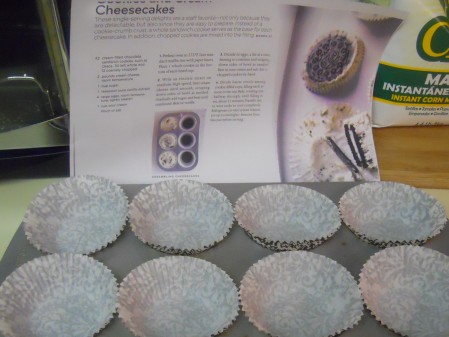
Have you heard of Bookswim?  It’s the Netflix of books.  The library that comes to you.  I love it.  It’s a great way to test out books, or read a lot of them for less money.  Through Bookswim I checked out Martha Stewart’s Cupcakes cookbook and chose to make the Cookies and Cream Cheesecakes.  The recipe is in her book and it’s also been reported about by several food bloggers, as found here and halved here.  It’s an easy and luxurious dessert.

Since I REALLY didn’t need 30 Cheesecakes, I halved the recipe, which worked very well.

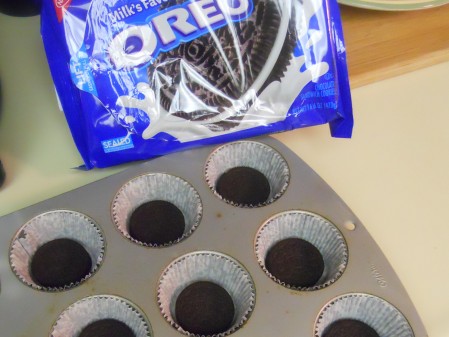
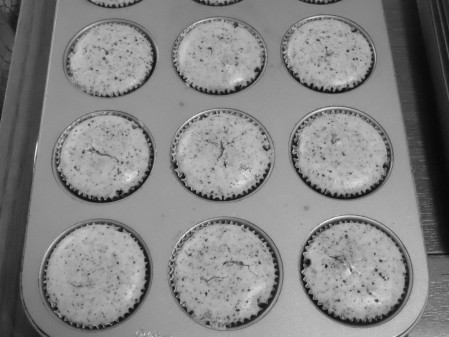
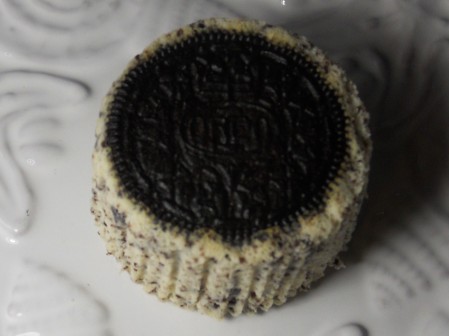
Start with a Muffin tin with paper liners and an Oreo Cookie for the bottom Crust.

Combine the other ingredients as specified and pour over each Oreo Cookie and bake.

They look special in B & W, color and upside-down, and taste great too.  I’ll make ’em again.

Quick Tender Oven Baked Baby Back Ribs & A Preparation Experiment.

April 12th, 2011 No comments

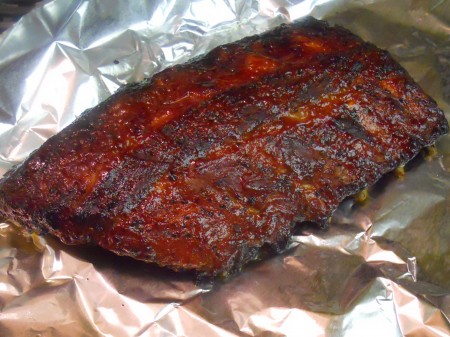
Have you tried Houston’s BBQ Pork Ribs aka Knife & Fork Ribs?  They’re some of the best I’ve had and a model for how I want my Baby Back Ribs to be.  And I’m content knowing I’ve previously accomplished it, BUT sometimes there’s not the time, nor grill, then what?

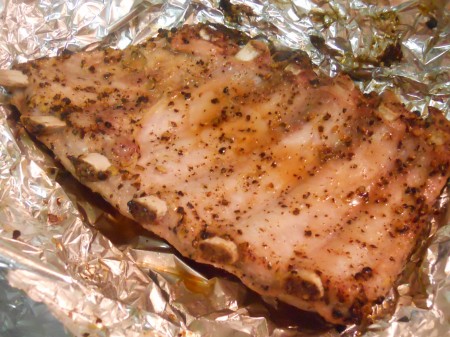
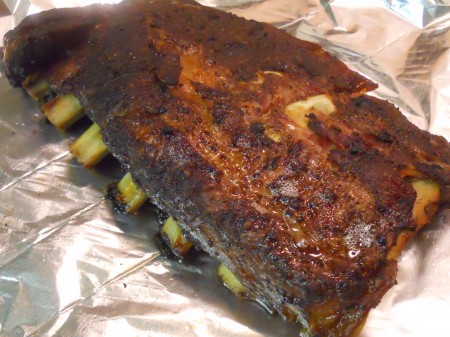
The above Baby Back Ribs were baked in the oven at 400° for 1 hour wrapped in foil (fat/meat side down), then unwrapped, turned over and lathered with BBQ Sauce and cooked 20 – 30 minutes longer unwrapped.  Below is how they looked, prior to turning to sauce.

And separately below we experimented with a Dry Rub on a different slab of Baby Back Ribs.

Last year at the Foodbuzz Blogger Festival in San Francisco, I was given a Brown Sugar Pork Rub developed by Tyler Florence.  I finally tried it on this second slab of Ribs.  And to compound the test, we cooked them as described above, but at 225° for 3 hours.

The consensus, the slower cooked Dry Rub Baby Back Ribs fell apart while cutting, not attractive for serving, and unnecessary since the top Ribs cooked in half the time and were perfectly tender.  That recipe is from Delicious House.  It’s a keeper happily collected, posted and linked here for future use.

And I’m sorry to report that I wasn’t excited by Tyler’s Brown Sugar Pork Rub, and it sounded so good too, but Salt and Pepper worked better on the first slab of Baby Backs, a winner.

Speechless Sunday: Uniquely Created In Inspiration Of Wordless Days.

April 10th, 2011 No comments

Mock Caesar Salad Dressing With Toasted Parmesan Cheese-Tons.

April 9th, 2011 1 comment

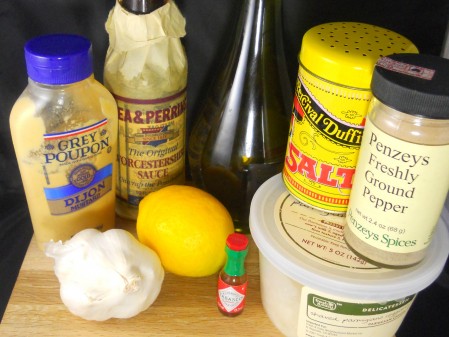
I love a well prepared Caesar Salad, but when it comes to making one at home, I don’t want to work with Anchovies or raw Eggs, if I don’t have to.  In search of simplicity and flavor, I found a Caesar Salad Dressing I’ll keep forever.  It satisfies all criteria perfectly.

No-Egg Caesar Dressing (Rachael Ray’s) – Just mix all ingredients in a blender & enjoy!
1 Garlic Clove, finely chopped
1 Lemon, juice of
1 teaspoon of Tabasco
1 teaspoon of Worcestershire Sauce
1 teaspoon of Dijon Mustard
1/3 cup of Olive Oil
1/2 cup of Parmesan Cheese, shredded or shaved
Salt and freshly ground Black Pepper

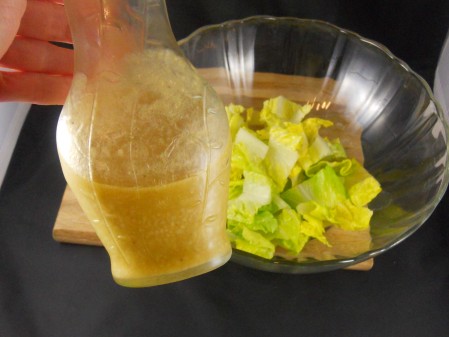
This Salad Dressing doesn’t lack for anything and can be tossed with any greens.

Once the Salad Dressing is prepared, only two more ingredients make this Caesar amazing.

Toasted Parmesan Cheese sprinkled as Croutons put this homemade Caesar over the top.

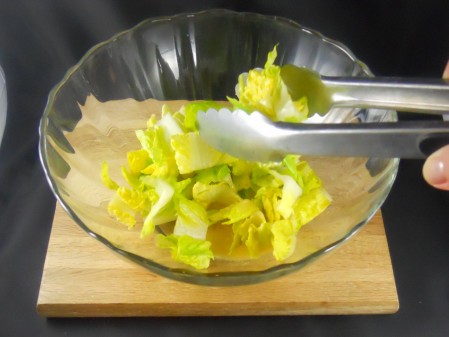
To prepare the Cheese-Tons, just add grated or shredded Parmesan to a dry skillet on medium.  Heat until each Cheese consortium crackles and pops together, then remove from skillet to cool on a paper towel.  Crumble over fresh Romaine tossed with this delicious mock Caesar Salad Dressing.  It’s made in minutes and tastes like it’s from a restaurant.

Turn A Can Of Garbanzos Into Hummus In Minutes: An Any Day Snack.

April 4th, 2011 No comments

After much experimentation, I found the best combination/ratio of ingredients to make Hummus using (1) Can of Garbanzo Beans aka Chickpeas.  I always have at least one can on hand, plus all necessary components to prepare a flavorful Hummus — Garlic (1 Clove), Tahini (2 Tablespoons), Lemon Juice (3-4 Tablespoons), Olive Oil (2 Tablespoons), Salt (1 Teaspoon) and Pepper (to taste).  And the best part is… All is simply blended together to produce instant homemade Hummus in minutes.  With warm Pita Bread, it’s my current snack preference.  Recipe doubles well, if you want more.  Opa!

Homemade Flour Tortillas: Conquered With A Bad Recipe.

March 24th, 2011 No comments

I made Flour Tortillas for the first time, but chose the wrong recipe, which seems to have a bad Flour to Vegetable Shortening/Lard ratio.  Not enough Flour (2 1/2 Cups) for the (10 Tbsps) of Shortening noted.  After comparison to other Flour Tortilla recipes, it’s obvious they would turn out too greasy.  I’m not sure how/why the recipe worked so well for the esteemed blogger, because it didn’t work for me, aside from how it may look posted here. 

It was recommended that I use Lard instead of Vegetable Shortening, but after visiting three stores that didn’t carry it, I opted for Crisco.  I don’t think the use of Lard would have improved this recipe, but next time I’ll give it a fair try using less tablespoons.  Although the noted measurements didn’t work well, the ingredients and steps to create future Flour Tortillas are generally the same as posted.

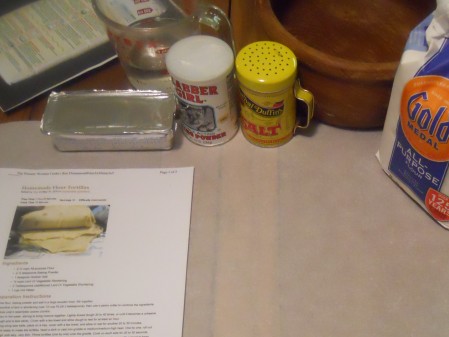
Start with Flour.

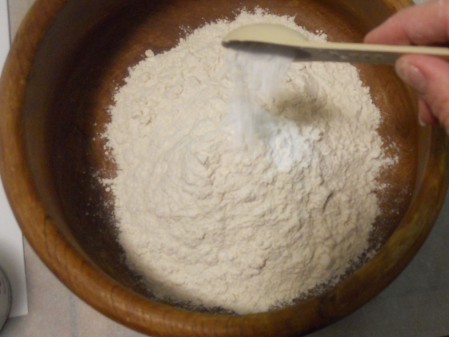
Add Baking Powder and Salt.

Add Vegetable Shortening or Lard.

Cut Shortening/Lard into Flour, Baking Powder and Salt combination.

Cut mixture until it resembles coarse crumbs.

Gettin’ there.

Add Hot Water to mixture.

Stir mixture together, then knead Dough until it becomes a cohesive ball that’s less sticky.

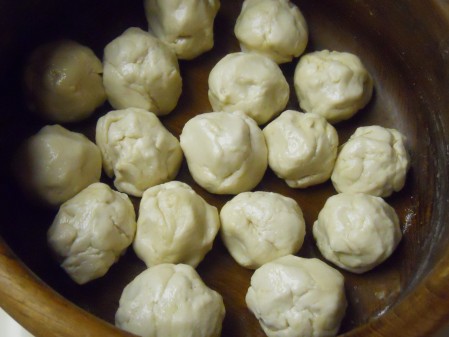
Let Dough rest for about an hour, then divide into ping pong size balls and let rest again.

Roll out each between two sheets of plastic to form Flour Tortillas.

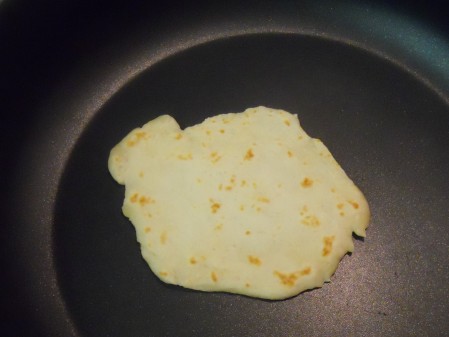
Cook each in a dry skillet for about 50 seconds per side.  The recipe notes to cook the Tortillas for 20 – 30 seconds each side, but it wasn’t long enough to obtain the desired brown specks.

Doesn’t the above Tortilla look like a fish?

They look good, but didn’t taste that great.

Our homemade Corn Tortillas turned out better, but we’ll try to make the Flour Tortillas again.

Hooray For Cheese And Sauce: How To Hide Enchilada Imperfections.

March 22nd, 2011 1 comment

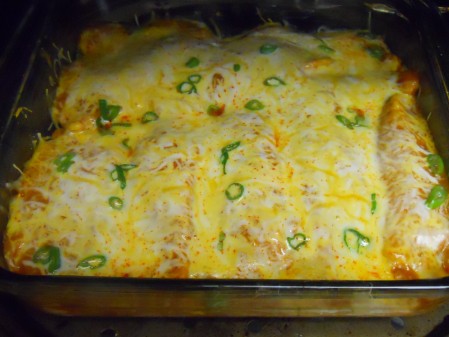
Looks good, right?  They do now.  And they tasted good too.  Often times there’s a transitional period when things look a mess, before coming together.  This occurrence is true for many types of creations.  In this instance, it was the Cheese and Sauce that straightened out the look of these imperfect Chicken Enchiladas.  All happened brilliantly in the end.

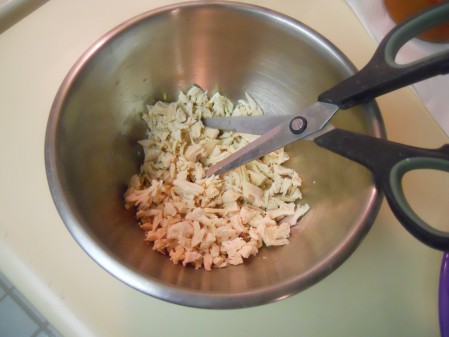
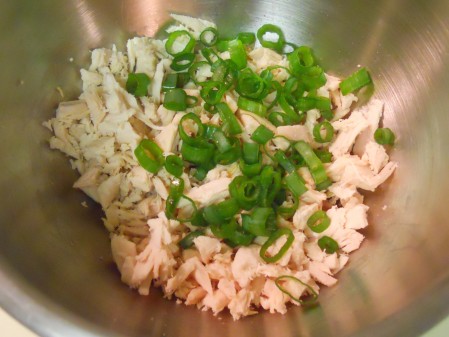
How to make them — Cut or shred breast meat from a Rotisserie Chicken.

Add Green Onions.

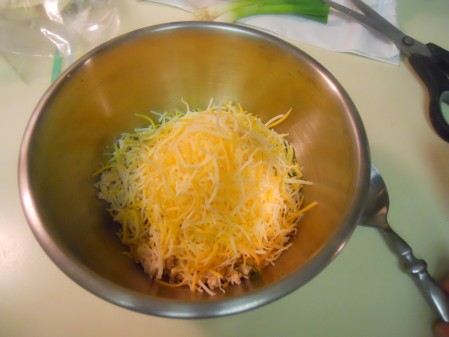
Add Cheese — For ease, I cheated by using pre-grated Jack and Cheddar.

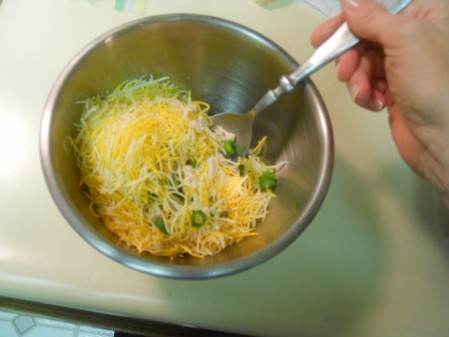
Mix ingredients together and set aside until Tortillas are ready to be filled.

Dip Tortillas in warm Sauce before filling them.  It makes them a little more pliable to roll.  The Sauce used for these Chicken Enchiladas was from El Matador Restaurant.  Got some to go — It’s almost the same price as a canned Sauce, but better tasting.  We recommend buying Enchilada Sauce from a good Mexican restaurant in lieu of canned, if you don’t make your own.

My Mom says I need to fry the Tortillas in Oil for a minute or so to make them even more malleable, but I always try to avoid that step and too often get the same bad result… cracking Tortillas.  She’s right, again.  And since the Tortillas were homemade and thicker than most, the breakage was worse, as shown below.

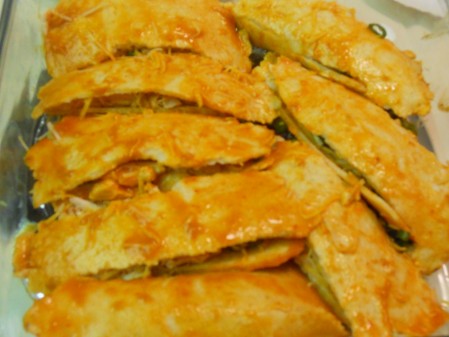
Cheese and Sauce to the rescue — Hide the Enchilada imperfections.

Now you can’t tell the Tortillas cracked and went off the deep end.

Aside from how they appear underneath, everyone liked how they looked coming to the table.  Their flavor and facade was dialed in with Cheese and Sauce.  Whew, they saved this meal.

Homemade Corn Tortillas: Easier To Make Than You Might Think.

March 21st, 2011 No comments

‘Make Homemade Tortillas’ has been on my To Do List for years.  After tackling Homemade Pasta, it was finally time.  I started with Corn Tortillas, posted here, and then moved on to Flour Tortillas (a little more complicated), which shall be posted soon.  This is the Corn report…

After reviewing several recipes online, I opted to make the one posted on the back of the Maseca Masa bag, which was easy to follow and the Corn Tortillas turned out well.

Only three ingredients went into their creation — Masa, Salt and Water.

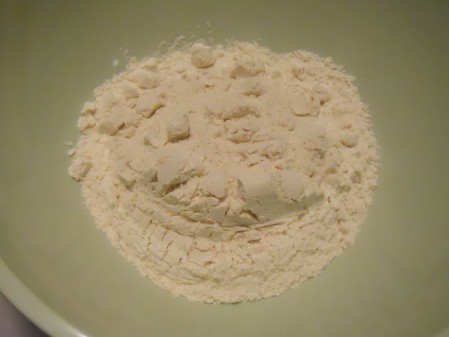
Start by combining the Salt and Masa.

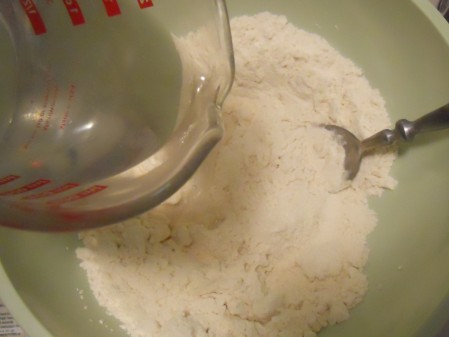
Then add Water to the Masa/Salt combination and mix to form a fairly stiff Dough.

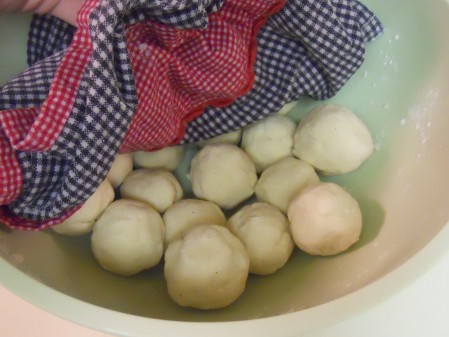
Once the Dough is satisfactorily formed, divide into targeted amount of Tortilla balls.

We formed 18 balls to ultimately create 18 Corn Tortillas.

Roll out each Tortilla ball in between plastic sheets — We used the inside of a baggie, which worked well.  The Tortillas are easy to separate from the plastic before hitting the skillet.

Once the Tortillas are formed, each is heated in a dry, medium-hot skillet for approximately 50 seconds per side, then set aside under a towel and/or bowl to keep them warm and soft.

As you can see, the hardest thing was to roll ’em out into perfect circles, which we didn’t do.  We could have used a large Cookie cutter, but opted for the rustic look this first time.

As noted, before opting to make the simple Maseca Masa Corn Tortilla recipe, I collected several others from around the web — And for future reference/use, they are all linked here:  Gourmet Sleuth, All Recipes, In Jennie’s Kitchen, Cooking Mexican Recipes, Simply Recipes, Eating Cleveland and What’s Cooking America.  All their Tortillas look better than ours.  You’ll find everything you need to make good Homemade Corn Tortillas.  Good luck to you!

Homemade Spaetzle: Can I Get Pregnant From This?

March 13th, 2011 2 comments

Have you ever tried Spaetzle?  It’s a German Noodle.  I hadn’t tried, nor made it, but was curious about it, since it’s so easy and quick to make.  And compared to homemade Italian Pasta, Spaetzle seemed a cinch.  So I made it here and I’m not in love.  And I hope I’m not pregnant — Spaetzle’s shapes scare me, and its taste is just okay.  Who makes it the best?

The recipe I used is linked here — Since I’m breaking up with Spaetzle, this post is fleeting.

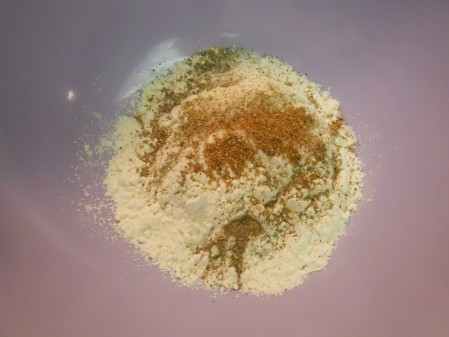
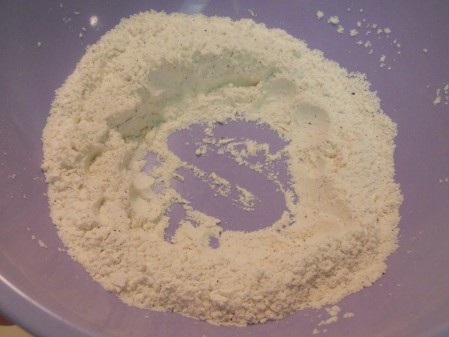
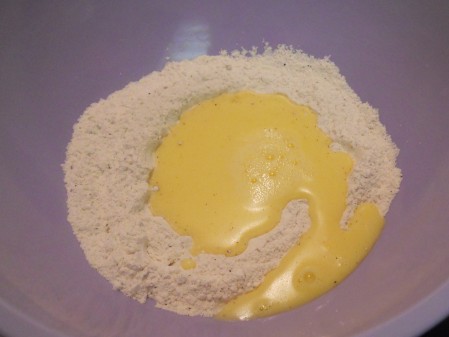
Add Salt, Pepper and Nutmeg to Flour, then form a well for a Milk and Egg mixture.

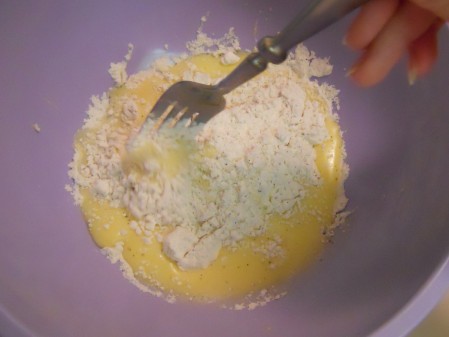
Stir Milk and Eggs into the Flour to form a smooth, thick Dough.

The printed (halved) recipe is shown below and linked on the Food Network’s site.

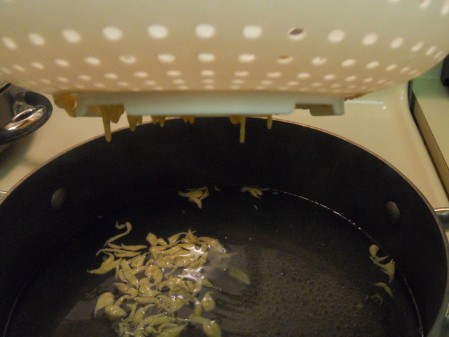
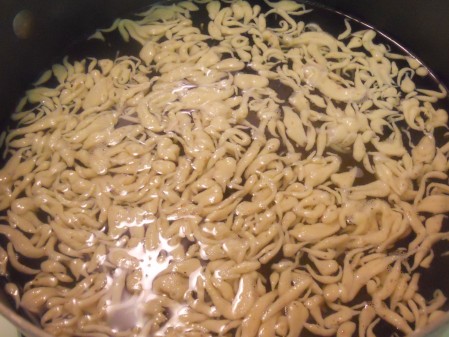
Once the Dough is prepared, it’s pressed through a colander into boiling Water.

And then you end up with whatever happens naturally — Ghosts, sperm, baby octopus, etc.

What do you think they look like?

Cook for about 3 – 4 minutes or until they float to the surface.

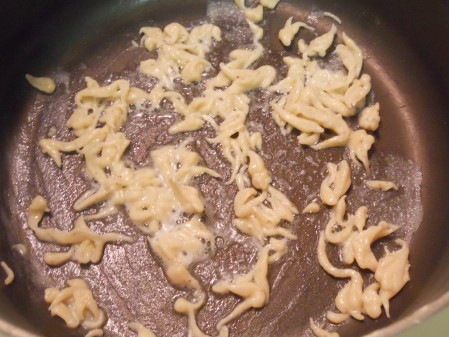
Strain the Spaetzle, then fry in Butter until browned and serve with Chives.

The final photos turned out blurry, which is just as well.  There was no romance.  It’s too heavy.  Auf Wiedersehen Spaetzle  — Maybe we’ll meet again in Germany, Austria, Switzerland or Hungary.